ICP ledger local setup
Overview
The Internet Computer Protocol (ICP) implements management of its utility token (ticker "ICP") using a specialized canister, called the ICP ledger canister. There is a single ledger canister which runs alongside other canisters on a special subnet of the Internet Computer - the NNS subnet. The ICP ledger canister is a smart contract that holds blocks with each containing a single transaction. These transactions either mint ICP tokens for accounts, transfer ICP tokens from one account to another, burn ICP tokens eliminating them from existence, approve ICP tokens to be spent by some other accountidentifier or transfer ICP from a previously approved accountidentifier. The ICP ledger canister maintains a traceable history of all transactions starting from its genesis state (initial state).
Each new transaction is placed into a block and each block is associated with a monotonically increasing unique index. The entire chain is regularly signed by the network. The signature used to authenticate the chain can be verified by any third party who has access to the root public key of the Internet Computer. Specific transactions can be retrieved by querying the ICP ledger for blocks.
If you are working in a local development environment, i.e. with a local replica instead of the public Internet Computer, you can't access the ICP ledger running on mainnet. In order to test your application that integrates with the ICP ledger locally, you need to deploy a local ledger canister or install the NNS locally through dfx. However, this local ledger canister won't have the history and balances of the live ICP ledger.
Architecture
Accounts
An ICP ledger account (see ICRC-1 standard) belongs to and is controlled by the account owner who must be a valid principal ID. No account can be owned by two or more principals (no "joint accounts"). However, since a principal can refer to an external user as well as to a canister, joint accounts can be implemented as canisters.
An account on the ledger is represented and stored as an AccountIdentifier, which is derived from the principal ID and subaccount identifier by computing a hash of the two. The subaccount is an optional bitstring which helps distinguish between the different sub-accounts of the same owner.
In this context, you can think of principal identifiers as a rough equivalent to the hash of a user’s public key for Bitcoin or Ethereum. You use the corresponding secret key to sign messages and therefore authenticate to the ledger canister and operate on the principal’s account. Canisters can also have accounts in the ledger canister, in which case the address is derived from the canister’s principal.
AccountIdentifiers and not just Principal IDs?The main reason for introducing accounts was to allow a principal to control multiple accounts. While this could be abstracted away for a user by a the wallet software, this is not possible for canisters.
Transaction types
There are four operations that can change the internal state of the ledger canister:
Minting ICP tokens for accounts.
Transferring ICP tokens between accounts.
Burning ICP tokens.
Approve ICP tokens.
All operations are recorded as transactions in the ledger canister.
There are two ways of deploying an ICP ledger locally.
- Use dfx-nns to deploy the entire NNS locally. Since the ICP ledger is part of the NNS, this command will also install an ICP ledger with canister ID
ryjl3-tyaaa-aaaaa-aaaba-cai. This solution is fast and straightforward, but also more heavyweight. - Deploy the ICP ledger
wasmlocally. This method is discussed and shown in this guide and it gives you more control over the deployment and also is lightweight.
Deploying an ICP ledger locally gives you certain advantages over the default ledger from dfx that is installed with dfx nns install. For instance, you can define the minting account, you have control over the initialization arguments and you have control over which wasm version of the ICP ledger you want to interact with.
The ICP ledger only exists on the mainnet and the wasm that is running on the mainnet is not meant to be used for other token deployments. It needs to be backward compatible and thus contains a lot of legacy code that should not be used when deploying a new ledger.
If you want to deploy your own token or build an ICRC-1 ledger, have a look at the guide on setting up an ICRC-1 ledger.
Follow the steps below to deploy your copy of the ledger canister to a local replica.
Step 1: Make sure you use a recent version of the IC SDK.
If you don’t have the IC SDK installed, follow the instructions on the installing the IC SDK section to install it.
Step 2: Create a new dfx project with the command:
dfx new icp_ledger_canister
cd icp_ledger_canister
If using dfx version 0.17.1 or newer, choose 'Motoko' for the backend language, and 'No frontend canister' for the frontend language.
Step 3: Determine the ledger file locations.
Go to the releases overview and copy the latest replica binary revision. At the time of writing, this is d87954601e4b22972899e9957e800406a0a6b929.
The URL for the ledger Wasm module is https://download.dfinity.systems/ic/<REVISION>/canisters/ledger-canister.wasm.gz, so with the above revision it would be https://download.dfinity.systems/ic/d87954601e4b22972899e9957e800406a0a6b929/canisters/ledger-canister.wasm.gz.
The URL for the ledger.did file is https://raw.githubusercontent.com/dfinity/ic/<REVISION>/rs/rosetta-api/icp_ledger/ledger.did, so with the above revision it would be https://raw.githubusercontent.com/dfinity/ic/d87954601e4b22972899e9957e800406a0a6b929/rs/rosetta-api/icp_ledger/ledger.did.
[OPTIONAL]
If you want to make sure you have the latest ICP ledger files, you can run the following script. Please ensure that you have jq installed as the script relies on it.
curl -o download_latest_icp_ledger.sh "https://raw.githubusercontent.com/dfinity/ic/00a4ab409e6236d4082cee4a47544a2d87b7190d/rs/rosetta-api/scripts/download_latest_icp_ledger.sh"
chmod +x download_latest_icp_ledger.sh
./download_latest_icp_ledger.sh
Step 4: Configure the dfx.json file.
Open the dfx.json file in your project's directory. Replace the existing content with the following:
{
  "canisters": {
    "icp_ledger_canister": {
      "type": "custom",
      "candid": "https://raw.githubusercontent.com/dfinity/ic/d87954601e4b22972899e9957e800406a0a6b929/rs/rosetta-api/icp_ledger/ledger.did",
      "wasm": "https://download.dfinity.systems/ic/d87954601e4b22972899e9957e800406a0a6b929/canisters/ledger-canister.wasm.gz",
      "remote": {
        "id": {
          "ic": "ryjl3-tyaaa-aaaaa-aaaba-cai"
        }
      }
    }
  },
  "defaults": {
    "build": {
      "args": "",
      "packtool": ""
    }
  },
  "output_env_file": ".env",
  "version": 1
}
If you chose to download the ICP ledger files with the script you need to replace the candid and wasm file entries:
...
"candid": icp_ledger.did,
"wasm" : icp_ledger.wasm.gz,
  ...
In an existing project you would only need to add the icp_ledger_canister canister to the canisters section.
Step 5: Start a local replica.
dfx start --clean --background
Step 6: Create a new identity that will work as a minting account:
dfx identity new minter
dfx identity use minter
export MINTER_ACCOUNT_ID=$(dfx ledger account-id)
Transfers from the minting account will create Mint transactions. Transfers to the minting account will create Burn transactions.
Step 7: Switch back to your default identity and record its ledger account identifier.
dfx identity use default
export DEFAULT_ACCOUNT_ID=$(dfx ledger account-id)
Step 8: Deploy the ledger canister locally:
Deploying to the playground is ICP's equivalent of deploying to a testnet network.
In this workflow, you cannot deploy this canister to the playground (using flag dfx deploy --playground) because it does not accept gzipped Wasm files.
dfx deploy --specified-id ryjl3-tyaaa-aaaaa-aaaba-cai icp_ledger_canister --argument "
  (variant {
    Init = record {
      minting_account = \"$MINTER_ACCOUNT_ID\";
      initial_values = vec {
        record {
          \"$DEFAULT_ACCOUNT_ID\";
          record {
            e8s = 10_000_000_000 : nat64;
          };
        };
      };
      send_whitelist = vec {};
      transfer_fee = opt record {
        e8s = 10_000 : nat64;
      };
      token_symbol = opt \"LICP\";
      token_name = opt \"Local ICP\";
    }
  })
"
Take a moment to read the details of the call made above. Not only are you deploying the ICP ledger canister, you are also:
- Deploying the canister to the same canister ID as the mainnet ledger canister. This is to make it easier to switch between local and mainnet deployments.
- Setting the minting account to the account identifier you saved in a previous step (
MINTER_ACCOUNT_ID). - Minting 100 ICP tokens to the
DEFAULT_ACCOUNT_ID(1 ICP is equal to 10^8 e8s, hence the name). - Setting the transfer fee to 0.0001 ICP.
- Naming the token
Local ICP / LICP
Step 9: Interact with the canister.
You can interact with the canister by running CLI commands, such as:
dfx canister call icp_ledger_canister name
This command will return the token's name, such as:
("Local ICP")
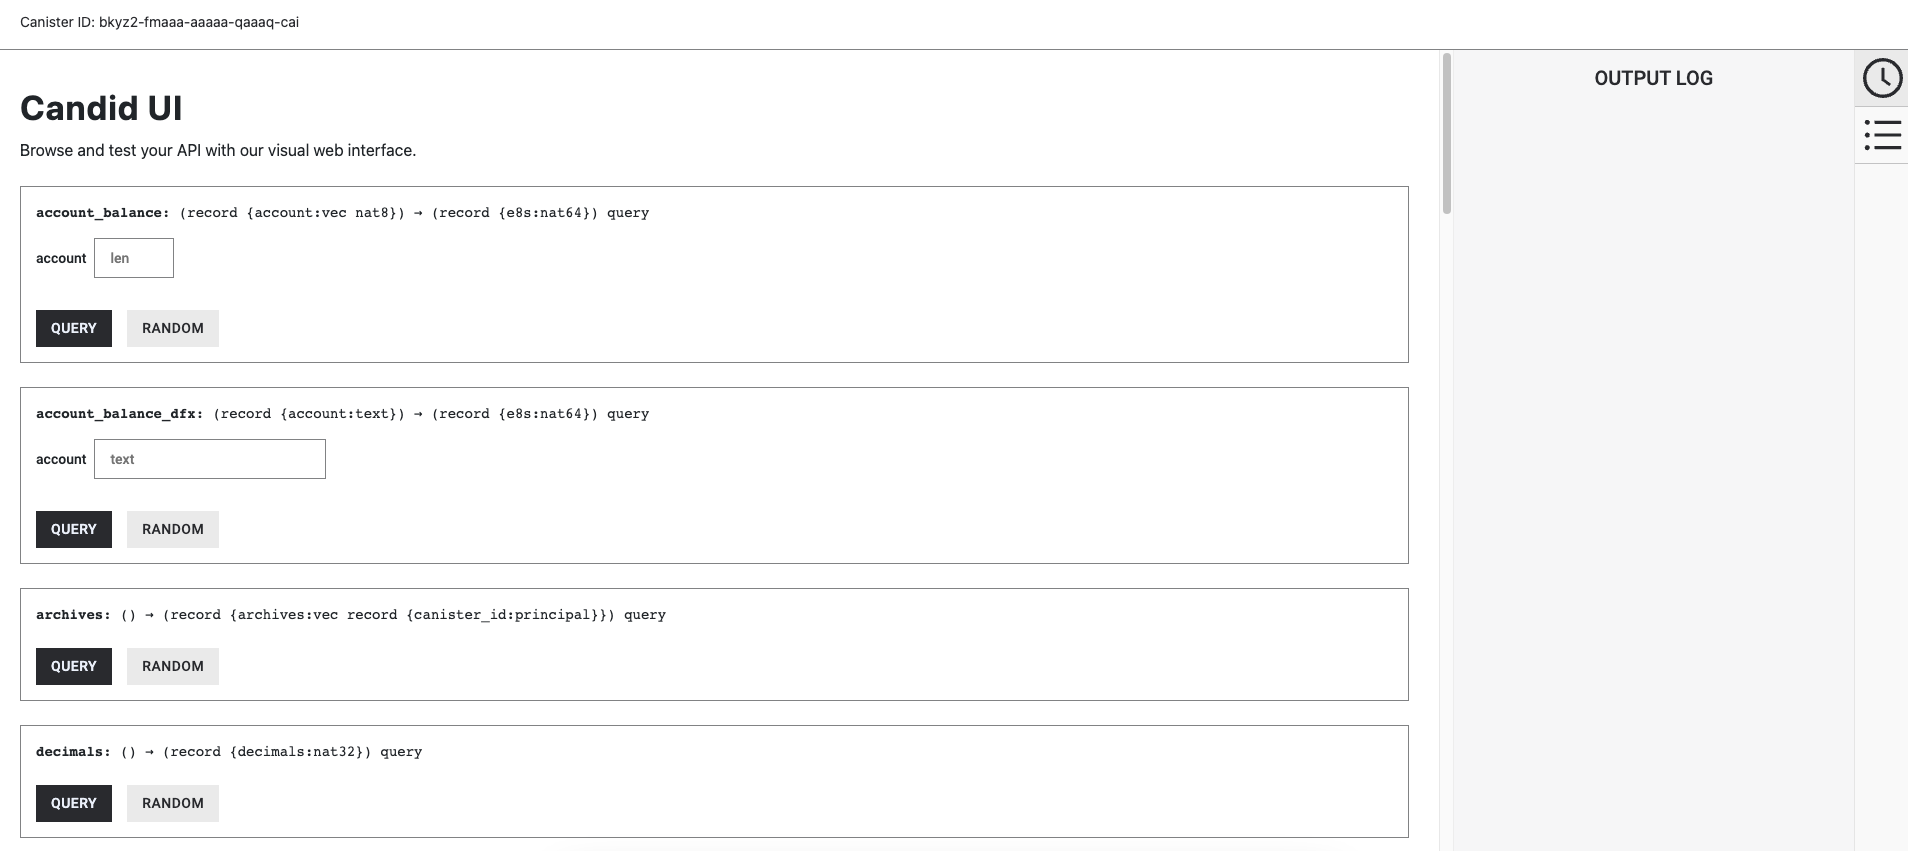
Or, you can interact with it using the Candid UI by navigating to the URL provided when the canister was deployed, such as:
http://127.0.0.1:4943/?canisterId=bnz7o-iuaaa-aaaaa-qaaaa-cai&id=ryjl3-tyaaa-aaaaa-aaaba-cai
After navigating to this URL in a web browser, the Candid UI will resemble the following:
Your local ICP ledger canister is up and running. You can now deploy other canisters that need to communicate with the ledger canister.